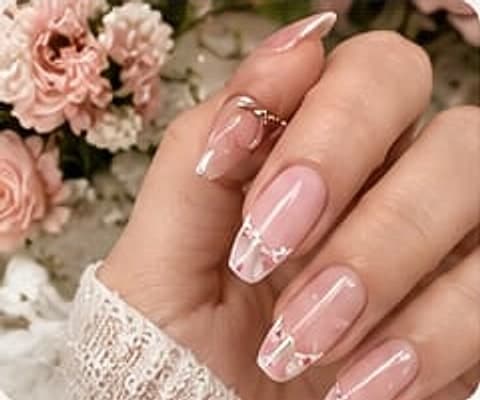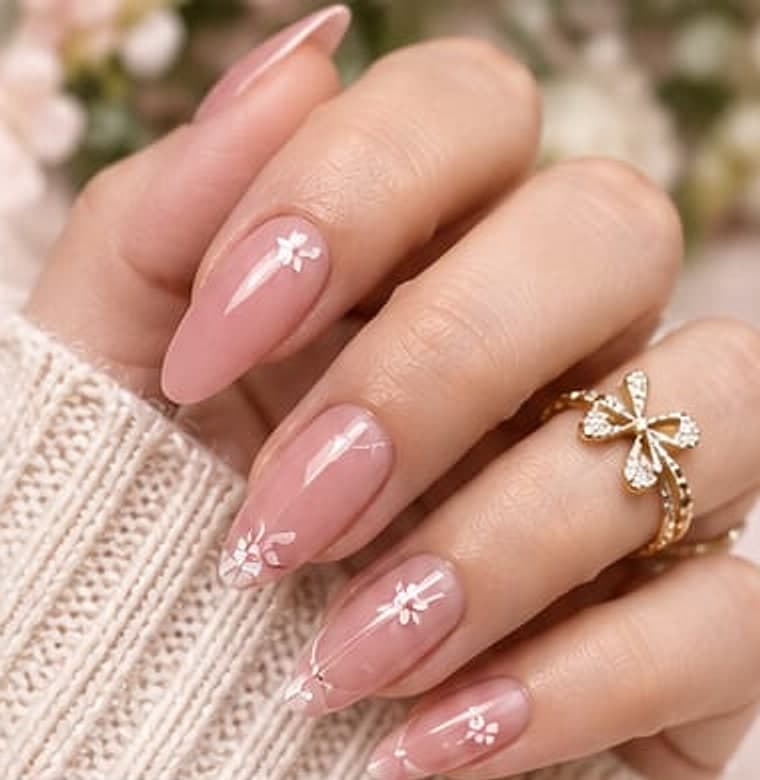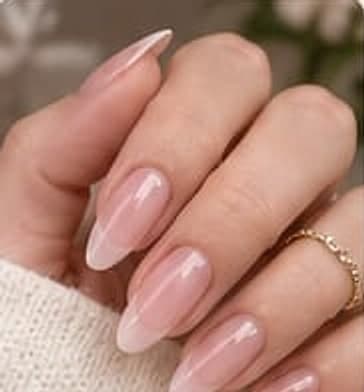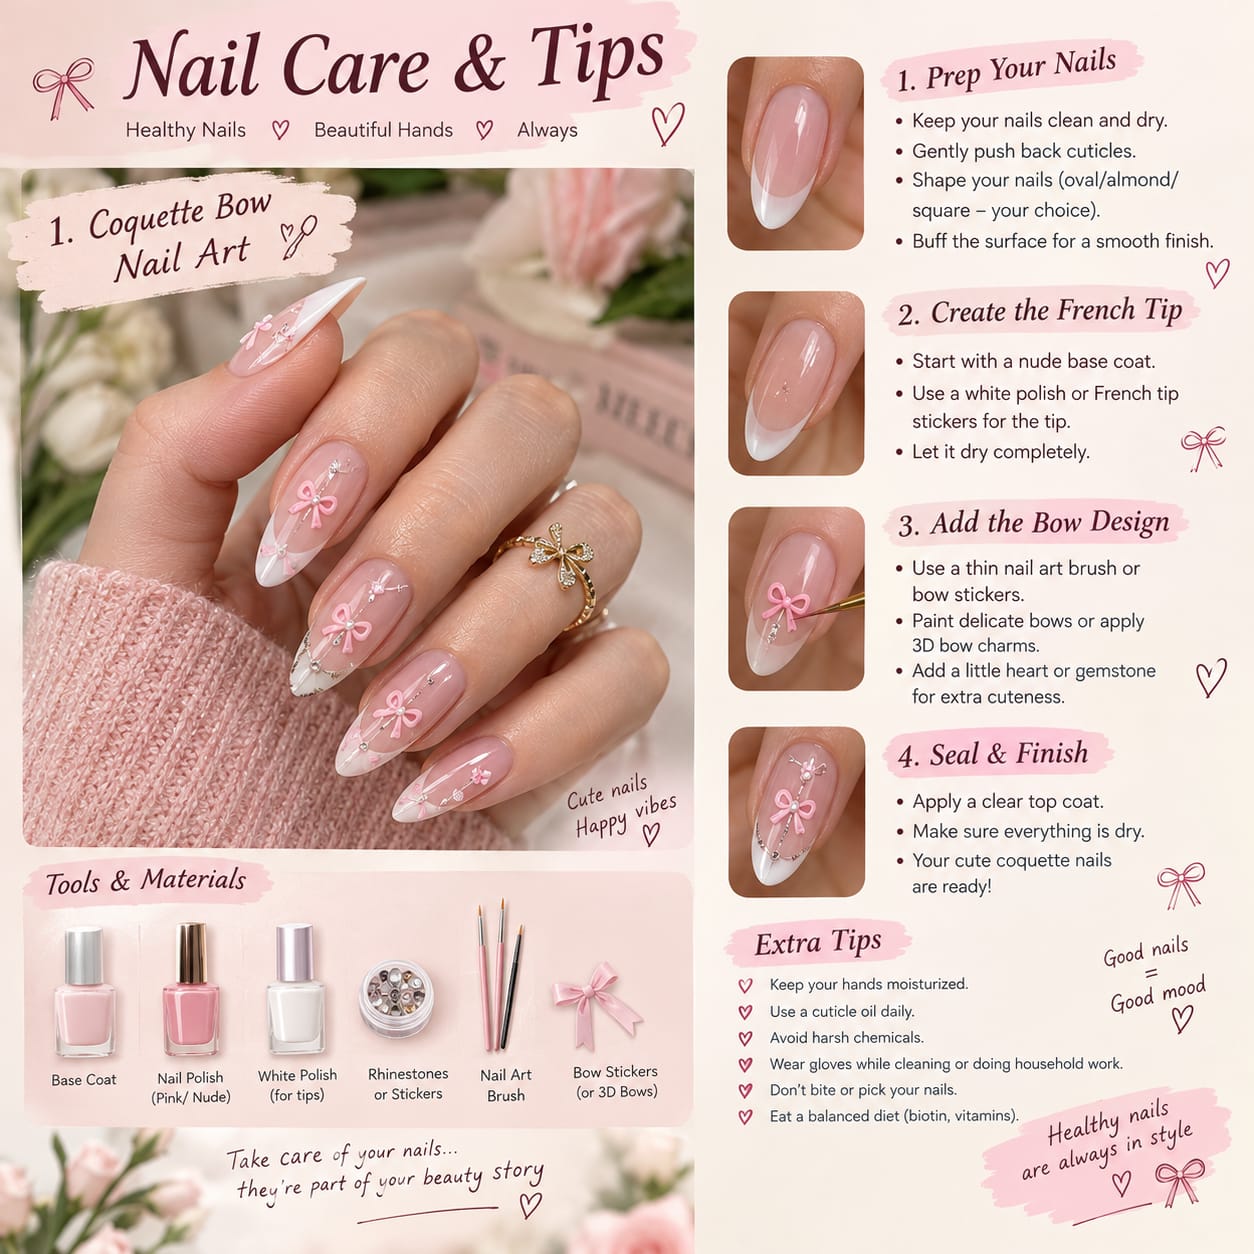
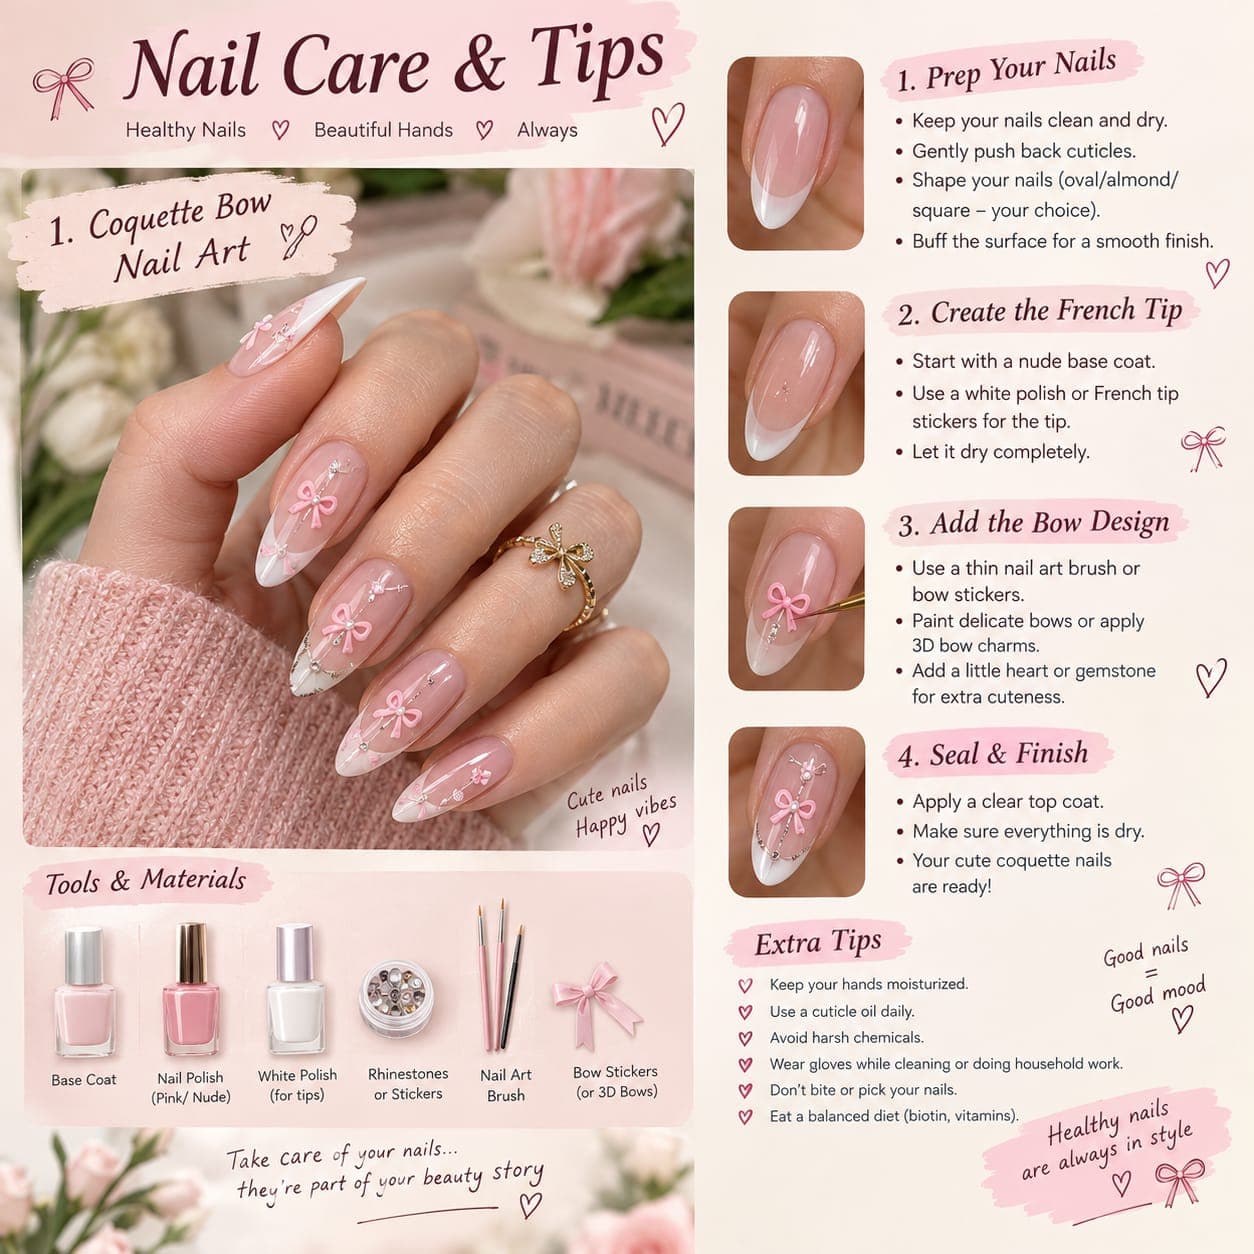
Coquette nails are all about soft pinks, delicate bows and a little bit of sparkle. They're romantic, playful and surprisingly easy to recreate at home. This step-by-step tutorial combines a classic French tip with tiny pink bows for a look that's cute enough for date night and subtle enough for every day.
Tools and materials
You don't need a professional kit. Here's what you'll need:
- Base coat: protects your nails and helps polish stick
- Sheer pink or nude polish: the soft "your nails but better" base
- White polish: for the French tips
- Pink polish: for painting the bows
- Rhinestones or nail stickers: optional sparkle
- Thin nail art brush: a detail or striper brush works best
- Bow stickers or 3D bow charms: an easy shortcut if you'd rather not paint
- Clear top coat: to seal everything in
Step 1: Prep your nails
Good prep makes nail art look neater and last longer.
- Keep your nails clean and dry.
- Gently push back your cuticles.
- Shape your nails. Almond or oval looks the most coquette, but square works too.
- Lightly buff the surface for a smooth finish.
Then apply a thin base coat and one or two sheer coats of pink or nude polish.
Step 2: Create the French tip
- Start with your nude base fully dry.
- Use white polish or French tip guide stickers to paint a clean curve along the tip.
- Let it dry completely before you add any details.
Pro tip: for a softer, more modern look, try a "micro French" with a very thin white line.
Step 3: Add the bow design
This is the fun part!
- With a thin brush and pink polish, paint two small loops that meet in the middle. These are your bow wings.
- Add a tiny dot in the center for the knot.
- Draw two short tails hanging down.
- Prefer no-fuss? Press on bow stickers or 3D bow charms with a dot of top coat instead.
- Add a little heart, pearl or gemstone for extra cuteness.
You don't need a bow on every nail. One or two accent nails per hand looks just as pretty.
Step 4: Seal and finish
- Apply a clear top coat over everything, carefully sealing around any gems or charms.
- Cap the free edge of each nail to prevent chipping.
- Make sure everything is completely dry, and your cute coquette nails are ready!
Extra tips for coquette nails
- Keep your hands moisturized so the soft, romantic look stays fresh.
- Use cuticle oil daily for a polished, salon-finish look.
- Avoid harsh chemicals that dull your top coat.
- Wear gloves while cleaning or doing household work.
- Don't bite or pick at charms; add a fresh top coat instead if one lifts.
- Eat a balanced diet with biotin and vitamins for stronger nails over time.
Coquette color ideas to try next
| Base | Bow color | Mood |
|---|---|---|
| Milky white | Baby pink | Soft and sweet |
| Sheer nude | Burgundy | Elegant and grown-up |
| Lavender | White | Dreamy pastel |
| Light pink | Red with gold gems | Valentine's Day |
The bottom line
Coquette bow nails look delicate and detailed, but they come down to four easy steps: prep, French tip, bows, and seal. Cute nails, happy vibes!
Want them to last? Read our guide on how to prevent nail polish from chipping. Not sure which shape to choose? See the best nail shapes for short fingers.
Loved these ideas?
Save this post to your Pinterest board so you can find it again before your next nail appointment.
Save to Pinterest