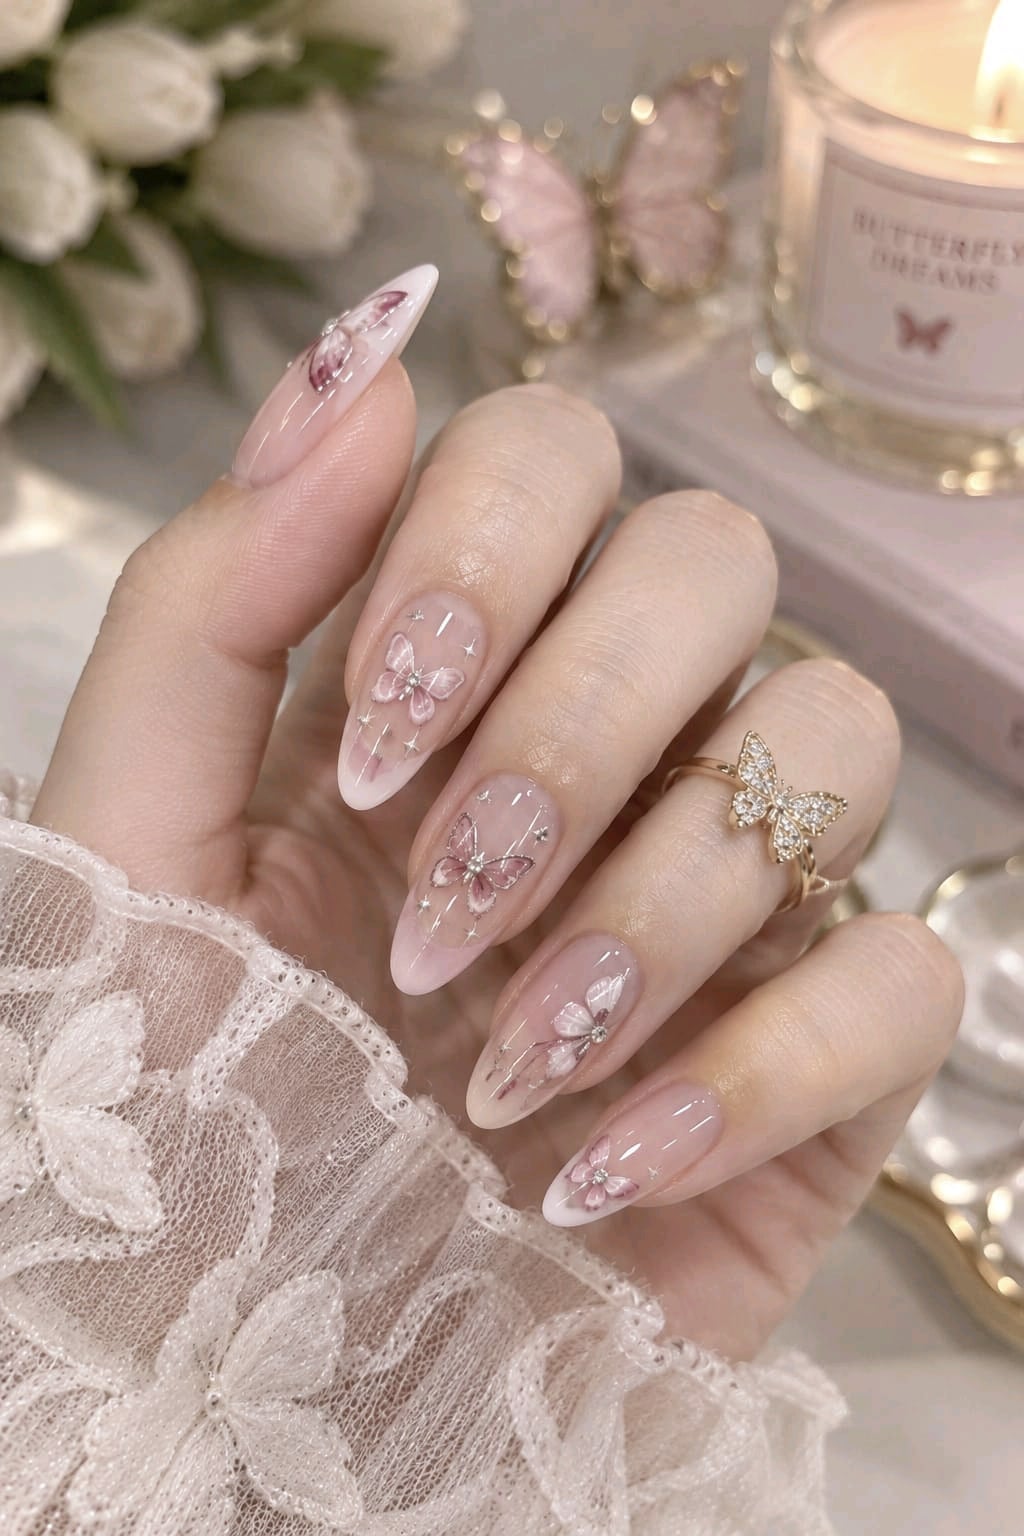
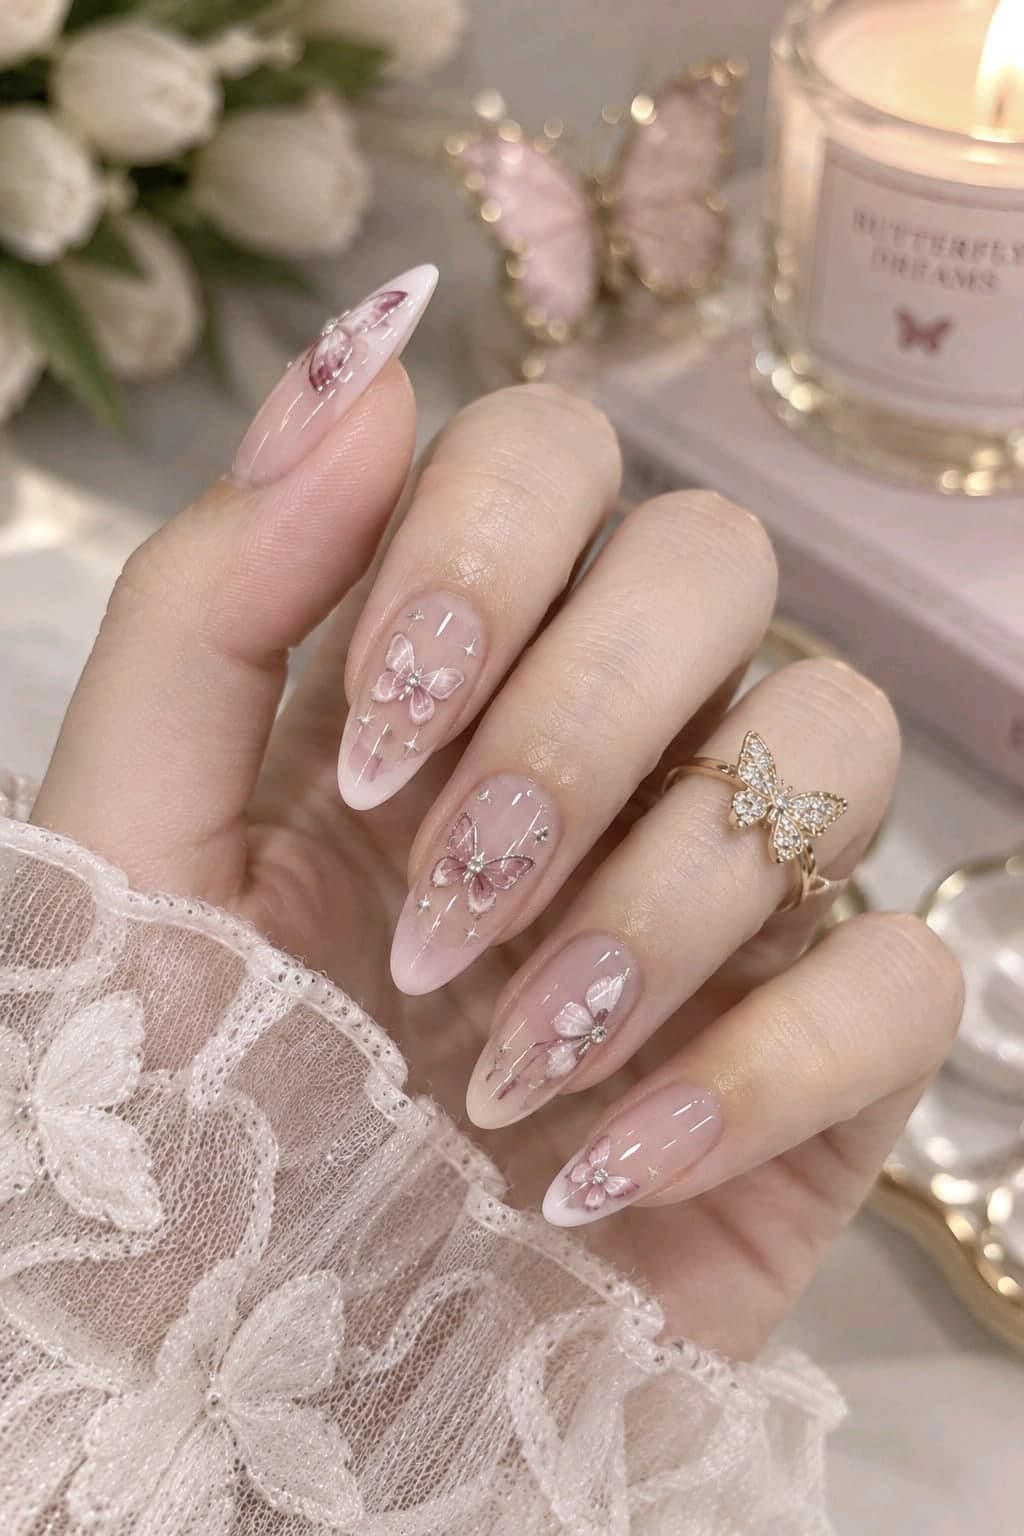
Butterfly nails are pure whimsy: soft, feminine and perfect for spring and summer. This look pairs delicate pink butterflies with milky ombré tips and tiny silver sparkles for a dreamy, fairytale finish.
Three ways to add butterflies
| Method | Skill level | Best for |
|---|---|---|
| Nail stickers or decals | Beginner | Quick, perfect results |
| Hand-painting | Intermediate | A unique, artistic look |
| 3D charms | Beginner | Extra dimension and sparkle |
Step 1: The ombré base
- Apply a base coat and one coat of sheer pink.
- Dab a little white polish on a makeup sponge and press it onto the tips.
- Repeat once or twice to build a soft fade.
- Add a coat of top coat to smooth out the gradient.
Step 2: Add the butterflies
With stickers: use tweezers to place a butterfly decal on two or three nails, then press down the edges.
Hand-painted:
- With pink polish and a thin brush, paint two teardrop shapes on each side of a center line for the wings.
- Add two smaller wings below.
- Paint a thin darker line down the middle for the body.
- Add tiny white highlights on the wings for dimension.
Step 3: Sparkles and finishing
Dot tiny silver stars or small rhinestones around the butterflies, then seal everything with a glossy top coat.
Styling tips
- Keep butterflies on accent nails so the design feels light.
- Pair with a butterfly ring for a matching look.
- For a moodier version, try our rose cat eye butterfly nails.
The bottom line
Pink butterfly nail art is sweet, simple and perfect for beginners. Love soft, girly designs? Try our pink ombré coquette bow nails next.
Loved these ideas?
Save this post to your Pinterest board so you can find it again before your next nail appointment.
Save to Pinterest