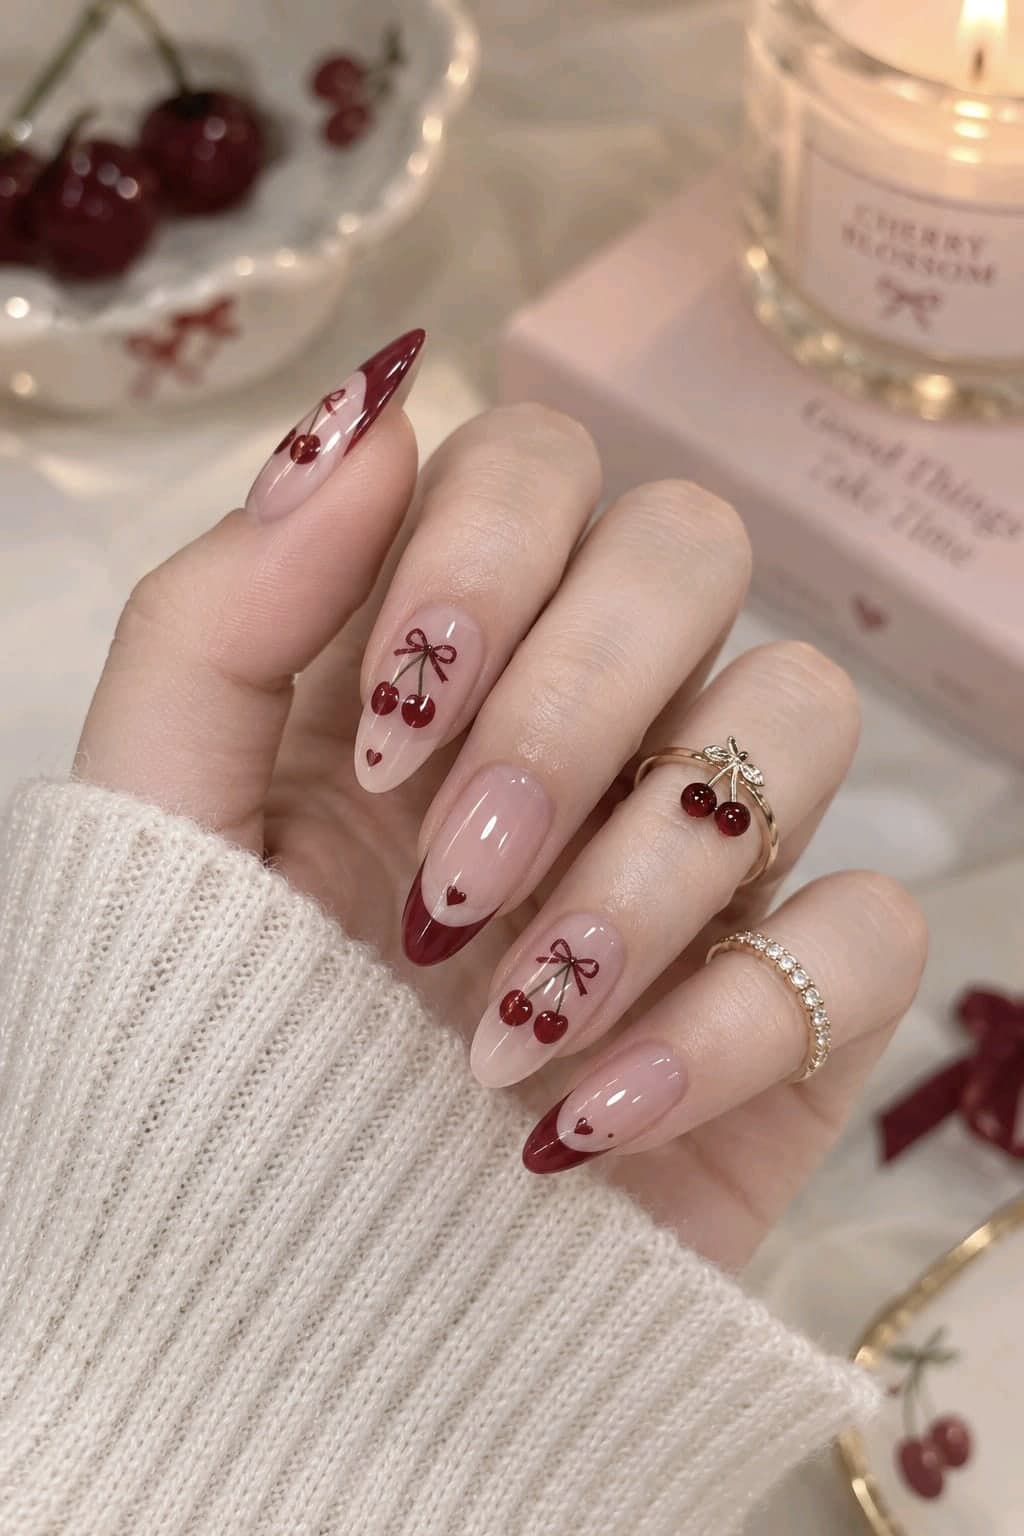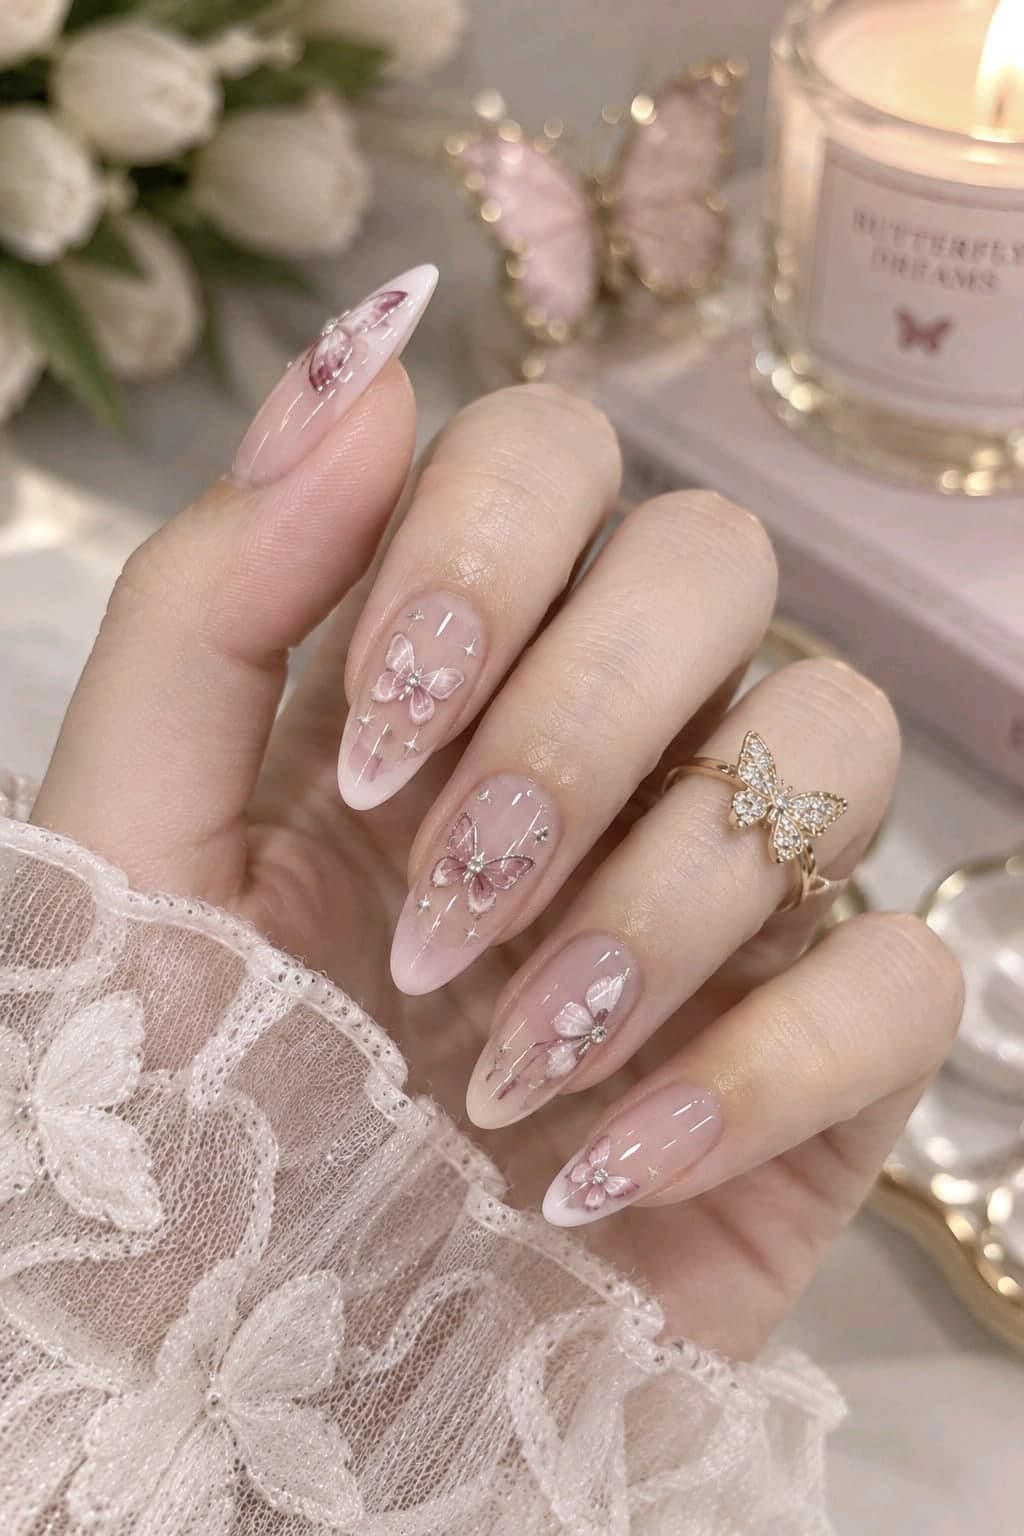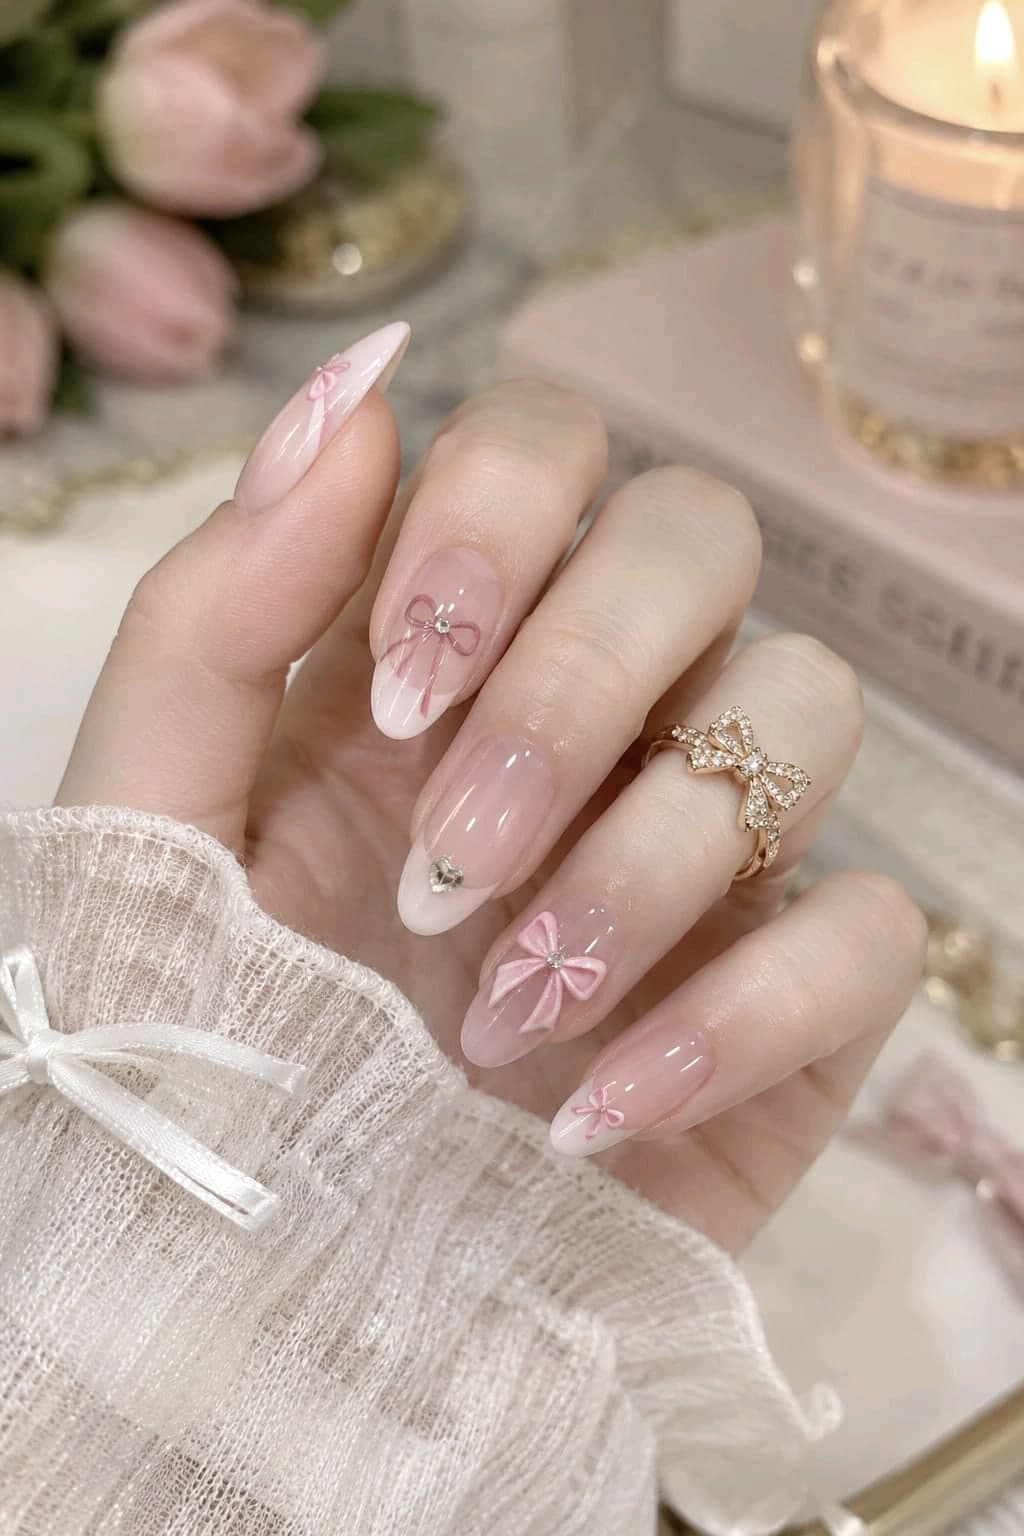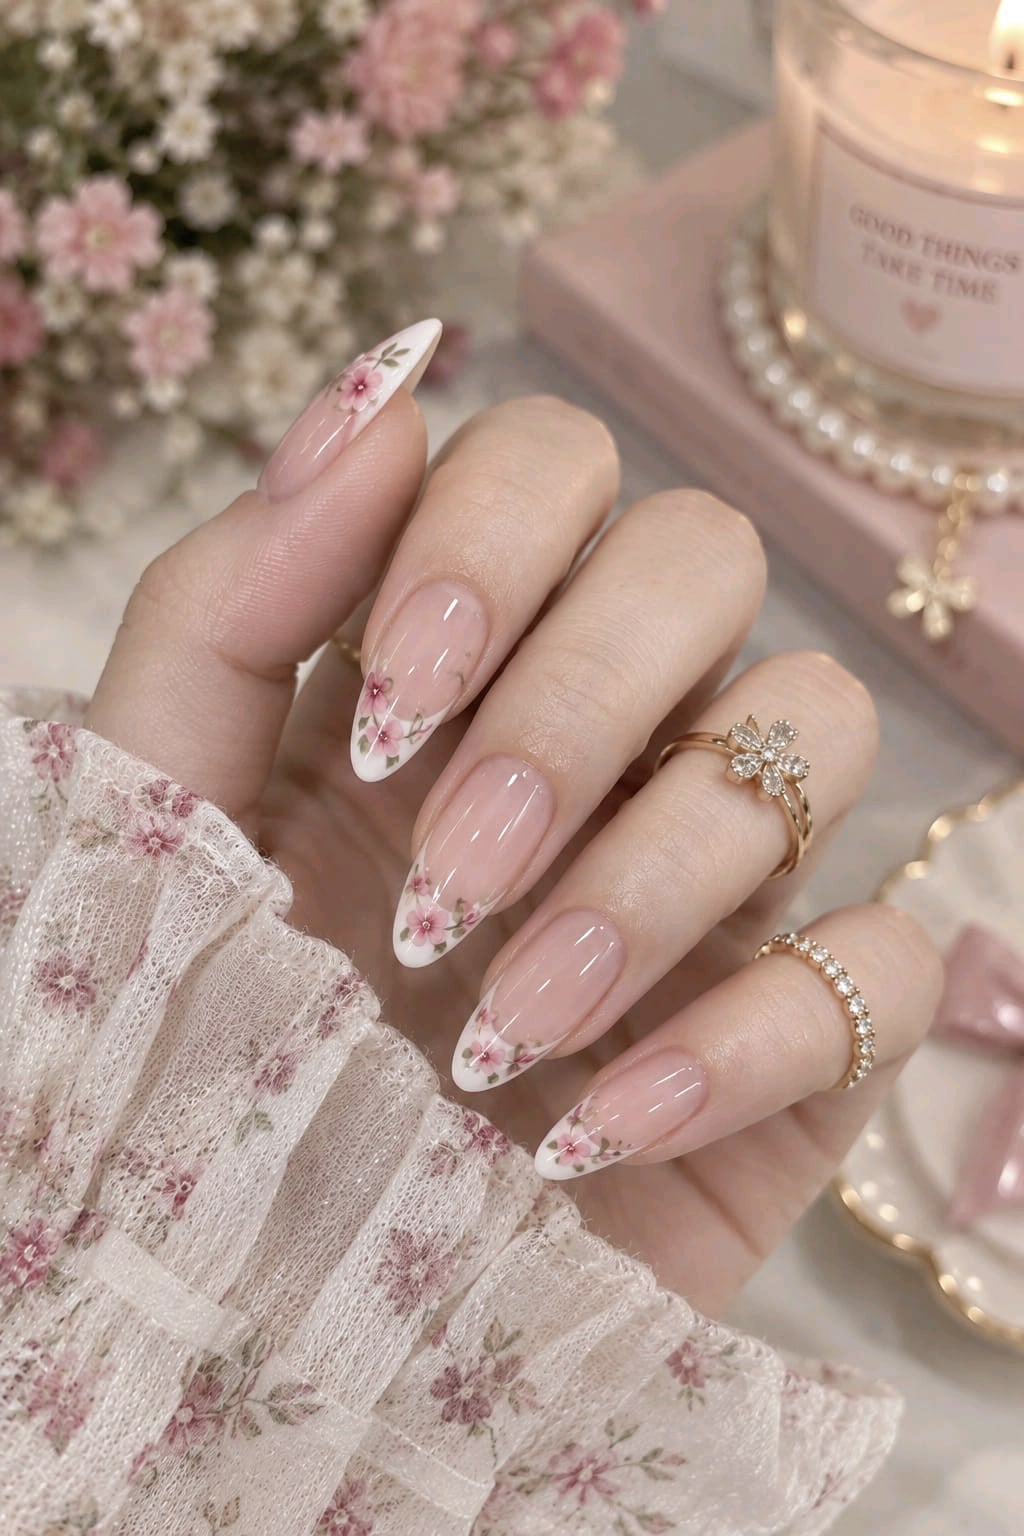
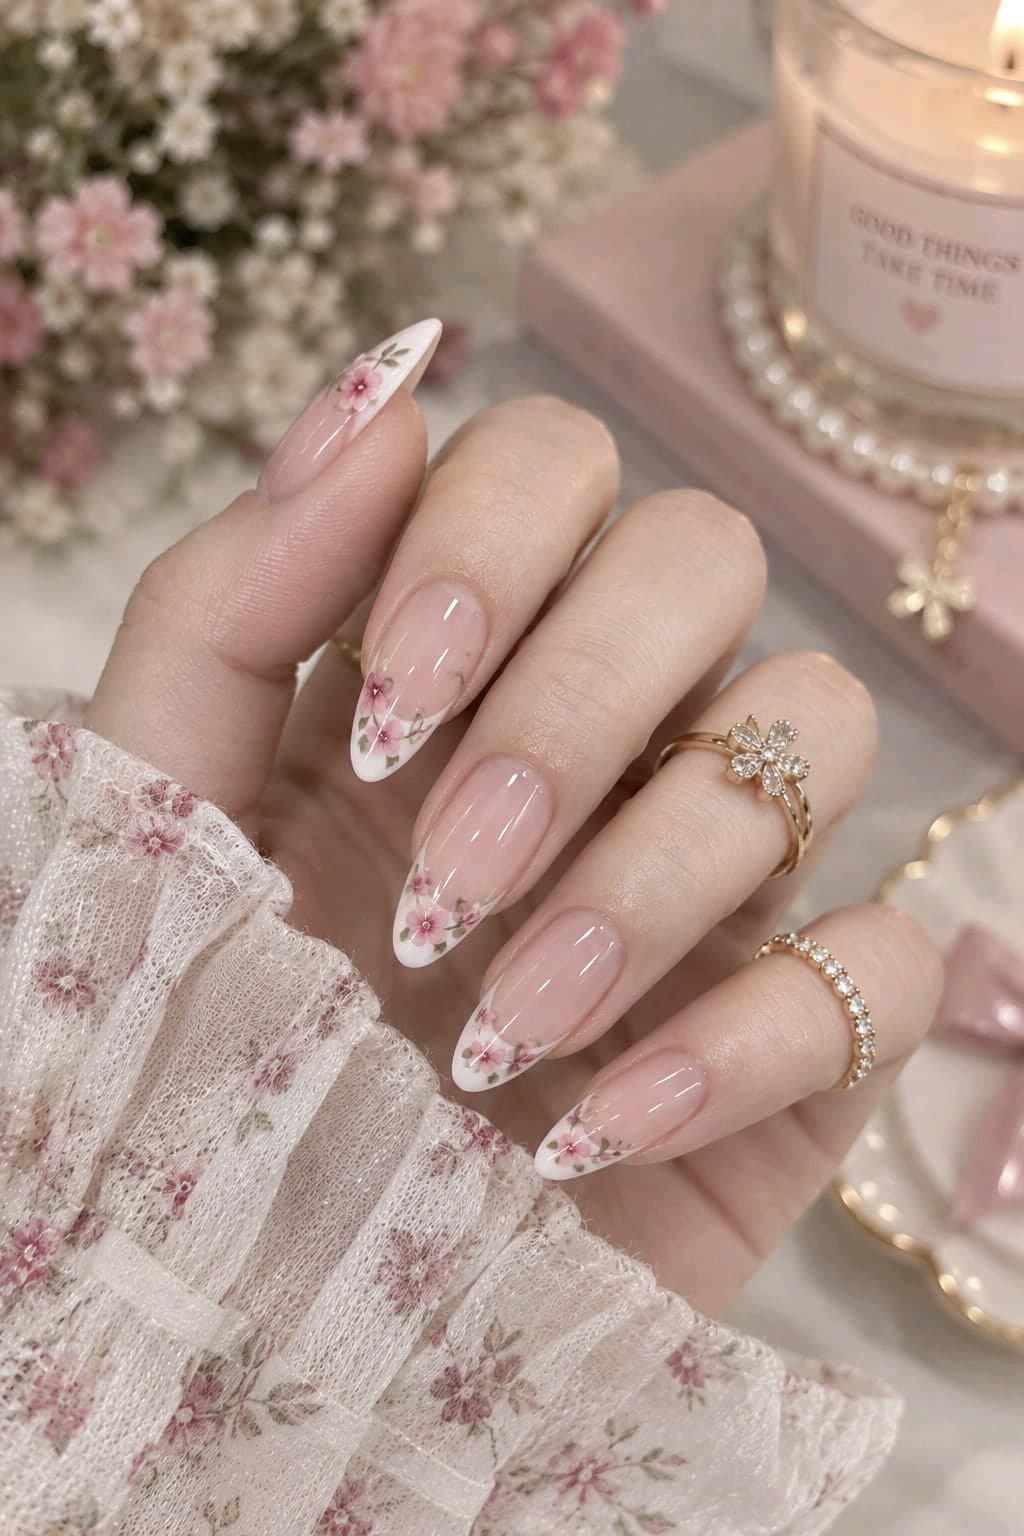
Classic French tips are elegant on their own, but add a sprinkle of tiny pink blossoms and they become pure romance. This design looks detailed, yet it's built from simple dots, perfect if you're new to nail art.
What you'll need
- Base coat and top coat
- Sheer pink or nude polish
- White polish (for the tips)
- Pink polish in two shades (light and medium)
- Green polish (for leaves)
- A dotting tool and a thin detail brush
Step 1: Create the base
Apply a base coat, then one or two coats of sheer pink. Let it dry completely so your art doesn't drag.
Step 2: Paint the French tips
Paint a soft white curve along the tip of each nail. On almond nails, follow the natural curve so it meets in a gentle point. Not confident freehand? Use French tip guide stickers.
Step 3: Add the flowers
- With a dotting tool, place five small light-pink dots in a circle on the white tip.
- Add a darker pink dot in the center.
- Scatter a few more flowers along the smile line, letting some overlap onto the nude base.
- Keep them small. Tiny flowers look more delicate.
Step 4: Leaves and finishing
With your thinnest brush, add tiny green leaf strokes beside some flowers. Let everything dry, then seal with a glossy top coat.
Tips for beginners
- Wipe your dotting tool between flowers so dots stay neat.
- Odd numbers look natural. Try three flowers on one nail and two on the next.
- Practice on paper or a nail wheel first.
Make it yours
- Swap pink for lavender or peach flowers.
- Paint just the accent nails for a minimal version.
- Try the same flowers on a sage green base.
The bottom line
Pink floral French tips are sweet, springy and easier than they look. Next, try our pink butterfly nail art or the classic 4 dreamy nail art ideas.
Loved these ideas?
Save this post to your Pinterest board so you can find it again before your next nail appointment.
Save to Pinterest